Hello, all of you impatiently waiting expectant moms to be.
We are sure you can hardly wait to get your new baby in your hands. And also to share the great news with all your family and friends. This is where we come in to help you. Our baby birth announcement cards have helped thousands of moms around the world to make a precious keepsake and tell everybody for the arrival of the most precious bundle of joy.
This guide is to help those of you who are not techy to customize one of our most popular birth announcement cards in a few practical and easy-to-follow steps. We will show you how you can personalize the card and make it your own in no time.
Our templates are available through our Zazzle store where it is super simple to edit and order your prints with great quality.
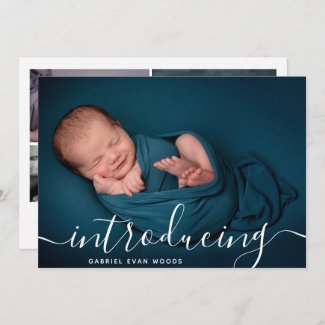
The card we are focusing on today is:
- Customizing the front of the card
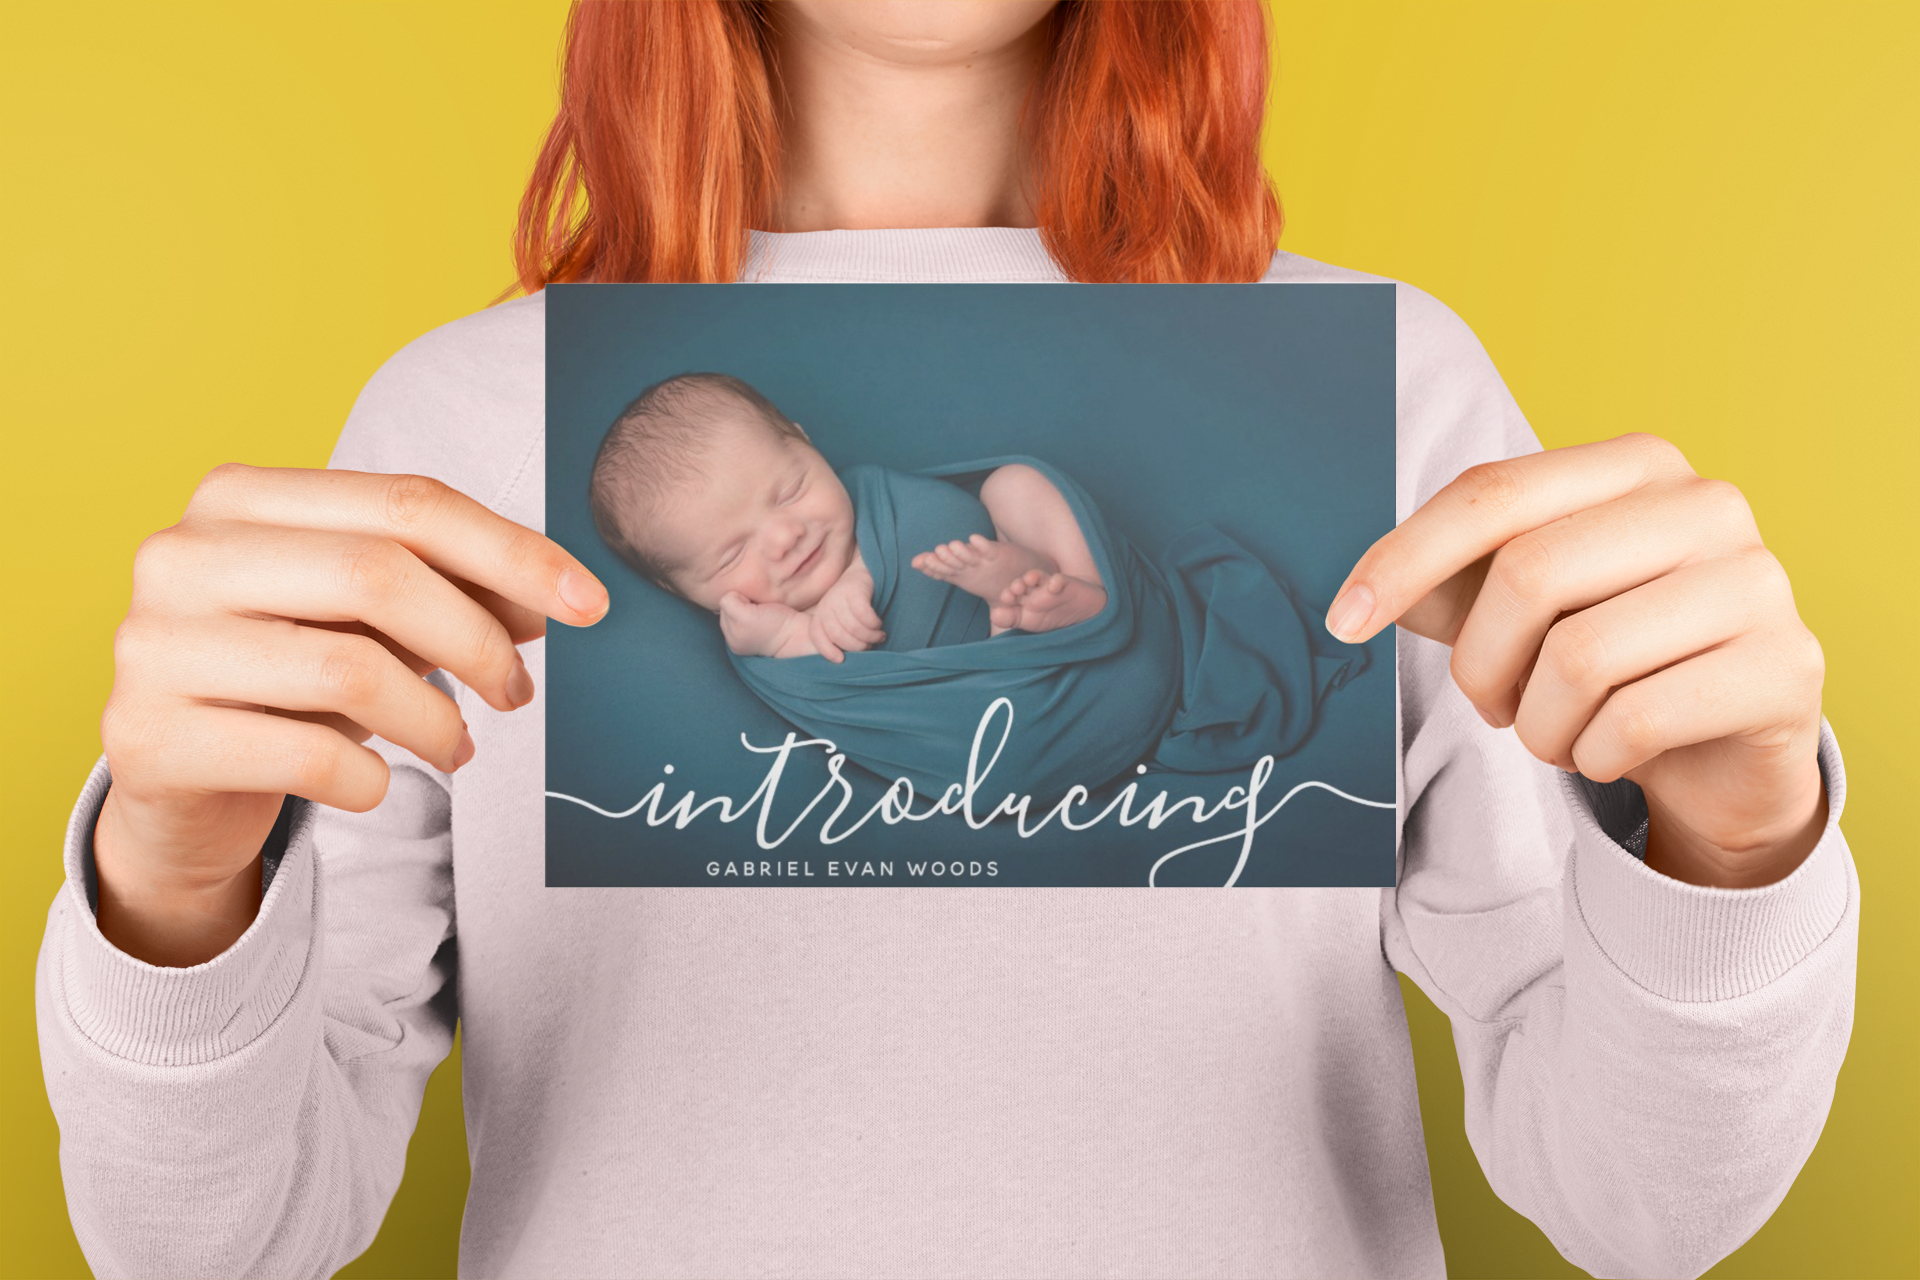
The front of the card comes with a hero photo, the word “introducing” in a beautiful script, and the name of the baby.
The things you can customize here are the photo and the name of the baby.
Change the photo
The template is horizontal so it will be best if you use a horizontal picture. It is set in a way that your photo will fill the entire card. If you would like to use a vertical photo there is another template with the same design, you can find here.
This template works best for photos that have darer bottom part since the text is in white. If your photo is too light and the text is not visible you can chose the same template with a black “introducing” script and baby name that you can find here: vertical
and horizontal
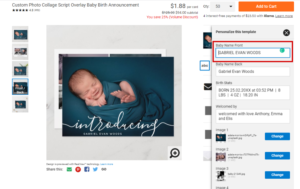
The change you can do from the menu on the right that says “Personalize this template”

This is the main menu that you do all the customization from. It opens and you see all the editable fields. It has the fields for both sides of the birth announcement, but for now we are looking at the front of the card. To change the photo click here:

A pop-up window will appear where you can upload the photo of your baby. It will automatically fill the space of the photo you are replacing. There is no need to do anything for the fit of the photo.
Change the name of the baby
To change the name of the baby stay on the “Personalize this template” menu and go to the text fields. You need to change the first fieldd named “Baby Name Front”. You can only edit the name, not the font or size. GABRIEL EVAN WOODS will be replaced by the name of your baby.

With this the front of your baby birth announcement is ready.
2. Customizing the back of the birht announcement
The back of the card is the one that has a photo collage and all the birth stats of your baby. The customization is done in the same menu.
Change the photos in the photo collage
The back has a photo collage for you to display more photos of your precious little bundle of joy. You can replace the photos os the photo collage with your own the same way you changed the one on the front. Just remember you photos will take the place of the photos in the template so for image 2 use a horizontal one and for all the others use square photos so nothing gets cut out. The photos you upload will be fitted into these fields which means they could be zoomed in out.
Change the text on the back

to change the text there are fields marked in red that are for the text on the back – the baby name, the birth stats and the welcomed by message. Change the text in the fields with your own and it will be replaced on the card. You can only change the contents of the text field and not the font or size.
*If you are an advanced user and you want to make more changes to the layout and the fonts of the text you can do this by going to the bottom of the menu and choosing “Click to customize further”. It will take you to zazzle’s design tool which we will not be covering here.
The rest is ordering your well customized card and sending it to your family and friends.

